Setup the Power Automate connector
Overview
Once you have created the flow in Power Automate, you can trigger it using HTTP calls from Bizagi. To do so, Bizagi provides a connector template to let you configure only the inputs of your flow.
Before you Start
You need to consider the following information:
- You need a Power Automate flow created which is triggered through HTTP calls. Refer to create the Power Automate flow for more information.
- Bizagi uses synchronous communication with Power Automate, so the connector does not allow a response.
- The inputs queries and body are mandatory; do not remove them from the connector.
Setup Steps
To set up the Power Automate connector, follow these steps:
- Setup the connector template
- Configure the connector in Bizagi Studio
- Configure the trigger of your flow
1. Setup the Connector Template
-
In Bizagi Studio, go to the Tools tab and select API connector.

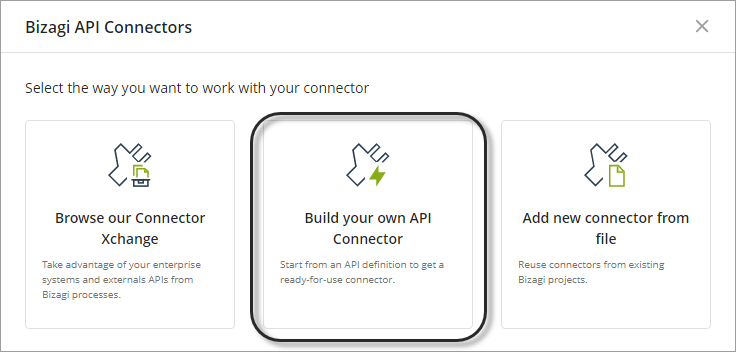
-
The Bizagi API Connectors window appears. Select Build your own API Connector.
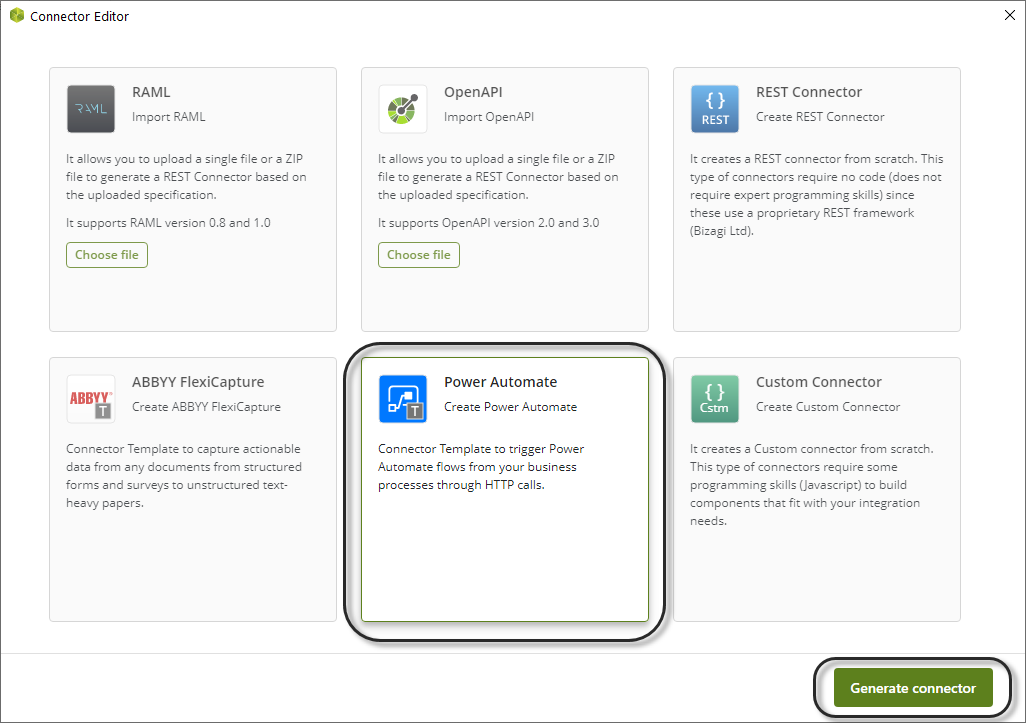
-
Select Power Automate connector and click Generate connector.
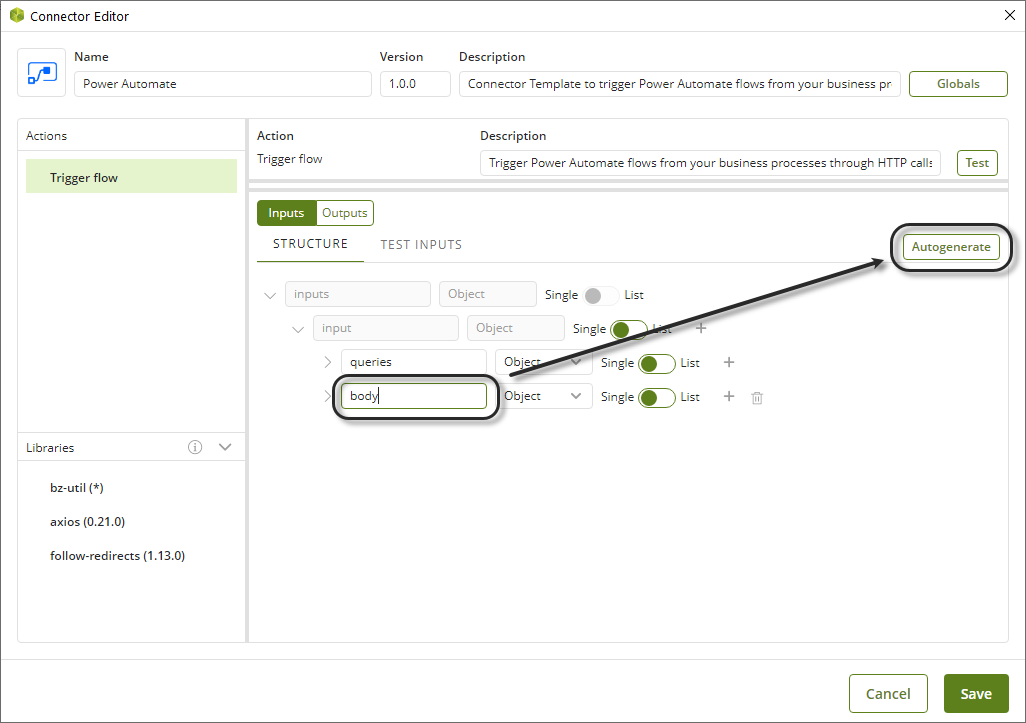
In the Structure panel, expand the inputs until you reach body. Here, you need to create the input parameters of your connector. You can create them manually by clicking the plus icon or you can upload a JSON sample. This JSON sample can be created from the sample you used during the creation of the flow.
To upload a sample file, make sure you click the body field and then click Autogenerate.
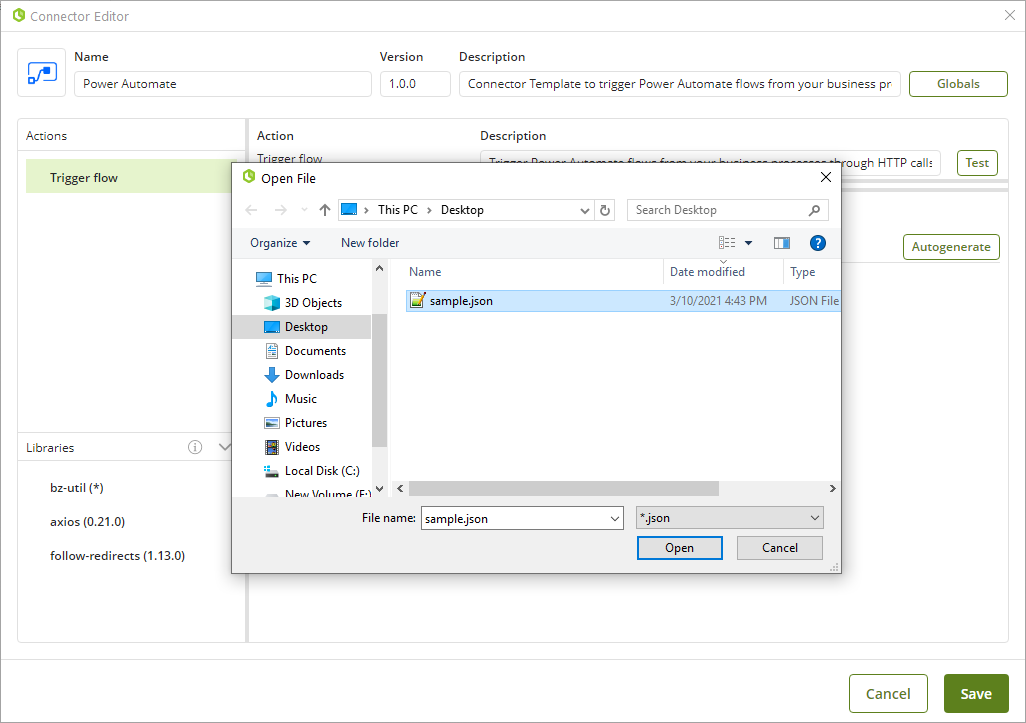
Select the JSON file and click Open.
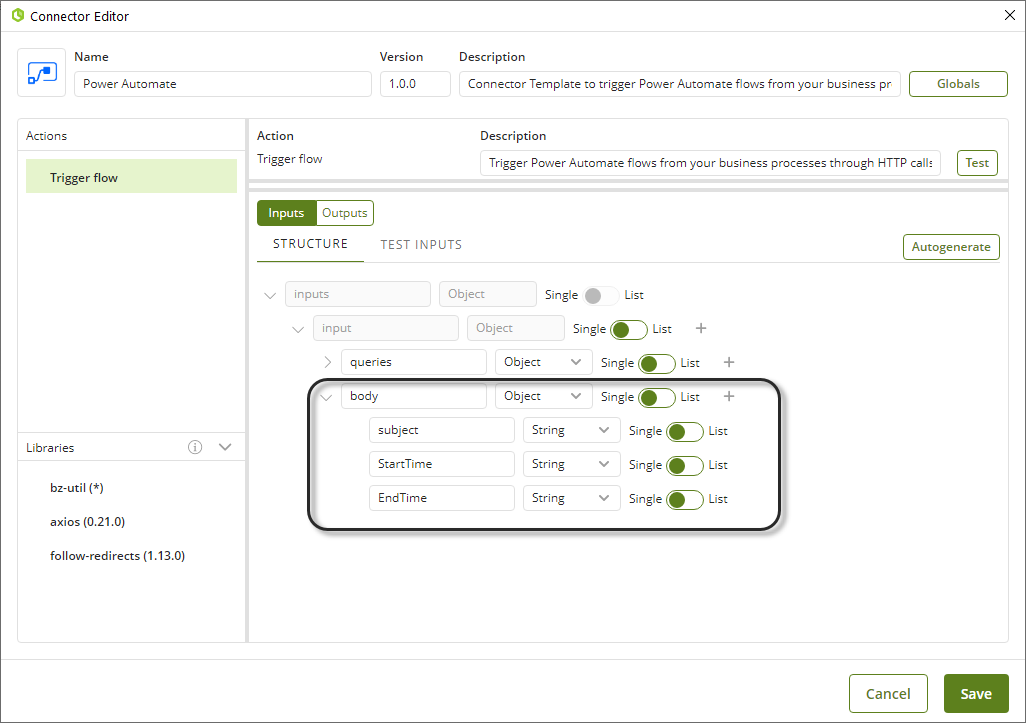
The input parameters appear under the body object.
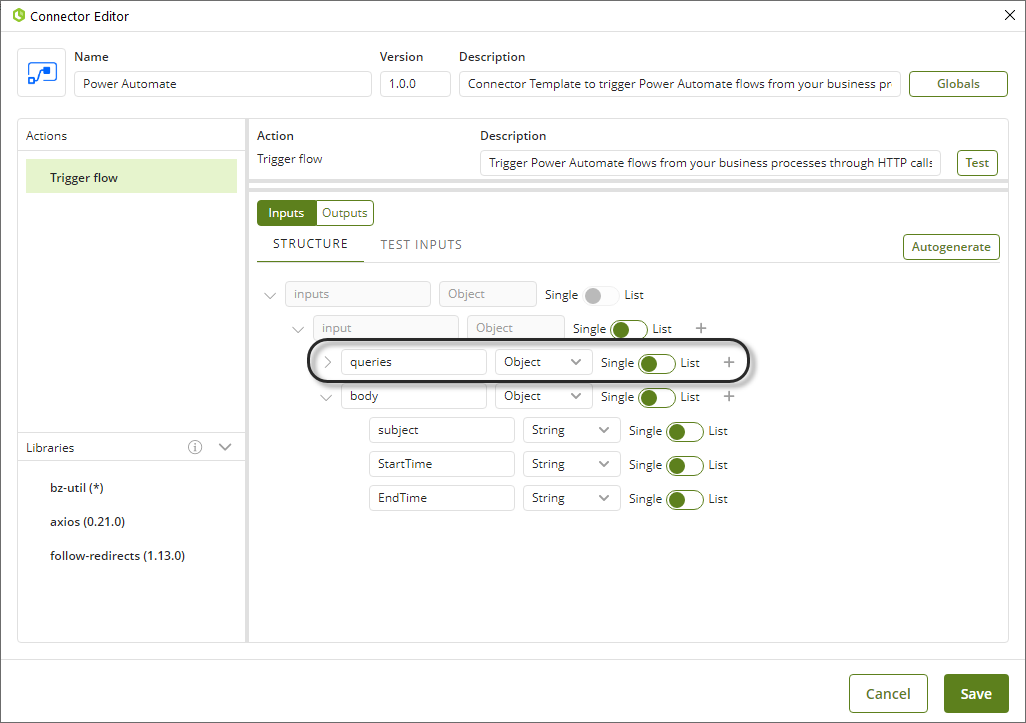
If your flow uses parameters from the Query URL, you can configure them in the queries object.
Click Save to finish the connector setup.
2. Configure the Connector in Bizagi Studio
Once you have tailored the connector, you need to configure it to let your Bizagi project trigger the flow.
-
Back in Power Automate, open the first step of your flow and copy the HTTP URL.
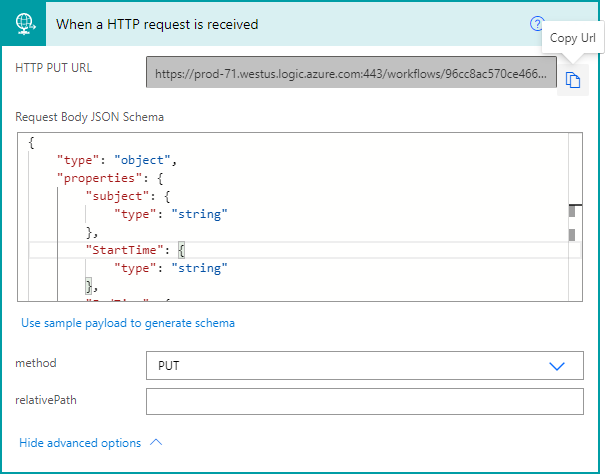
The URL copied has the following structure:

The part of the URL highlighted in yellow is the Trigger URL of the flow, and the one highlighted in blue is the signature that lets you authenticate in the flow.
-
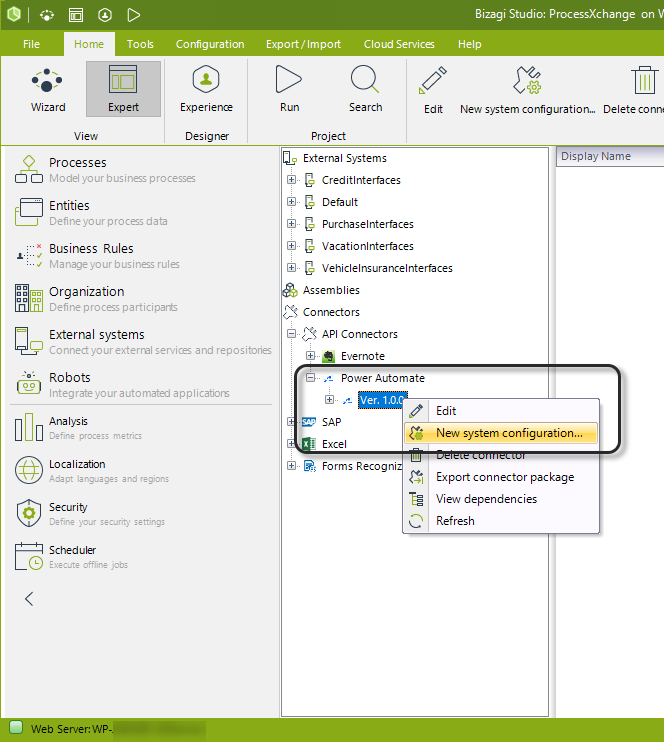
In Bizagi Studio, go to Expert view and select External Systems. Then, go to Power Automate in the API connectors node and right-click the version of this connector.
Click New system configuration.
-
Set the Custom Authentication method, and provide the information of your Power Automate flow.
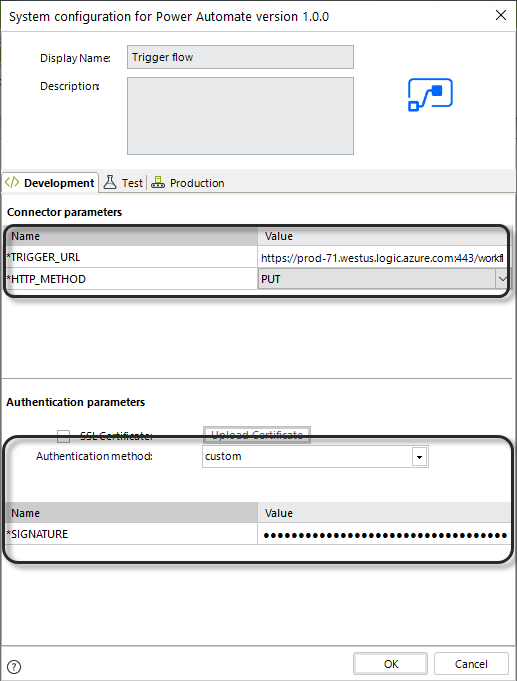
Where:
- TRIGGER_URL: Trigger URL of your flow as explained before.
- HTTP_METHOD: HTTP method used in the first step of your flow.
- SIGNATURE: Authentication signature of your flow as explained before.
3. Configure the Trigger of Your Flow
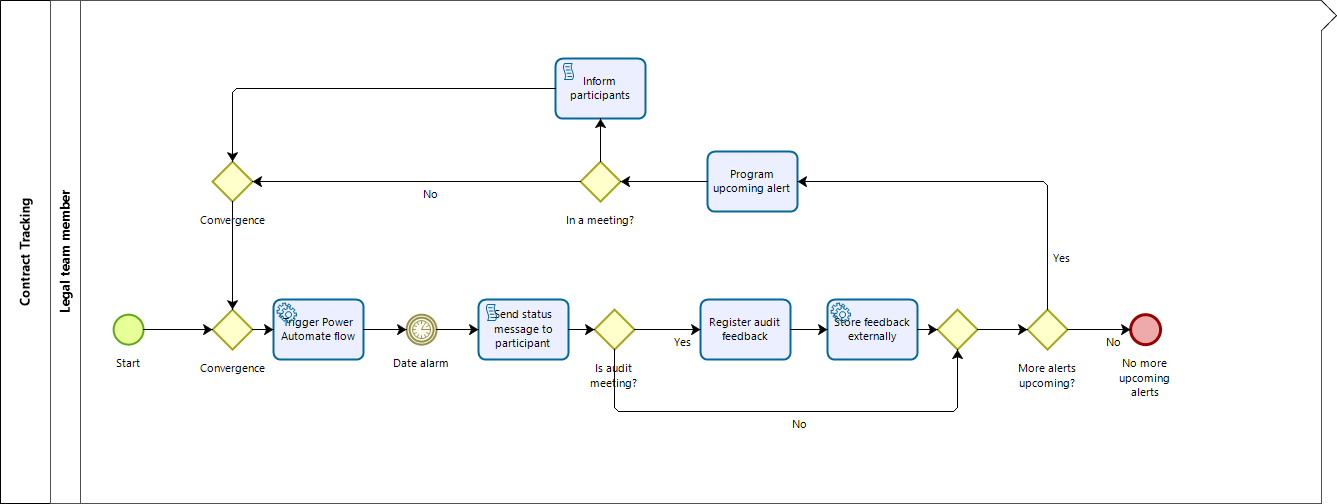
To trigger your flow from Bizagi, you need to invoke the connector somewhere in your process. As a good practice, we recommend invoking connectors using service tasks configured as asynchronous activities. This is an example of how you can model the invocation of the Power Automate connector:
-
Create a Connector action in the service task where you want to trigger the flow. Then, select the Power Automate connector in the wizard.
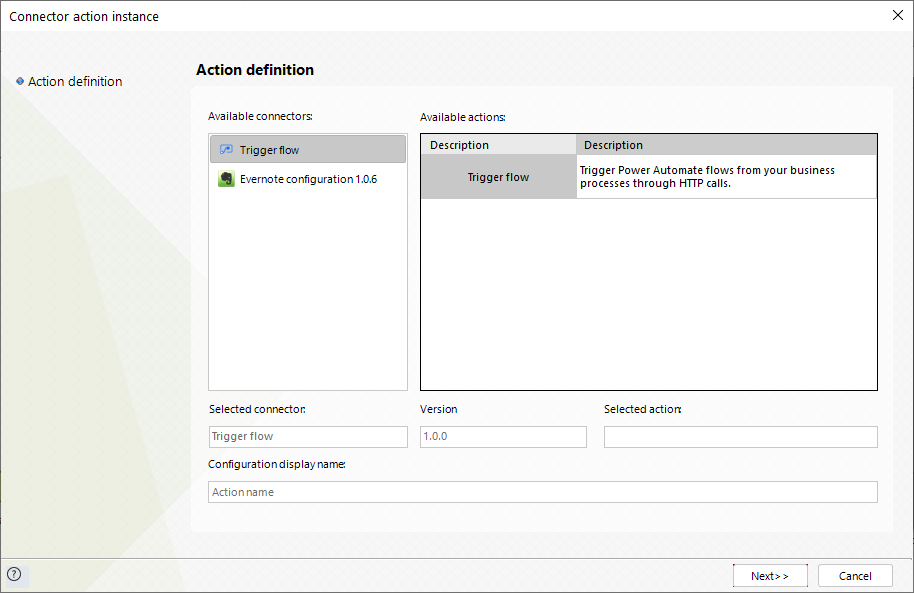
-
Click Next.
-
Map the inputs of your flow.
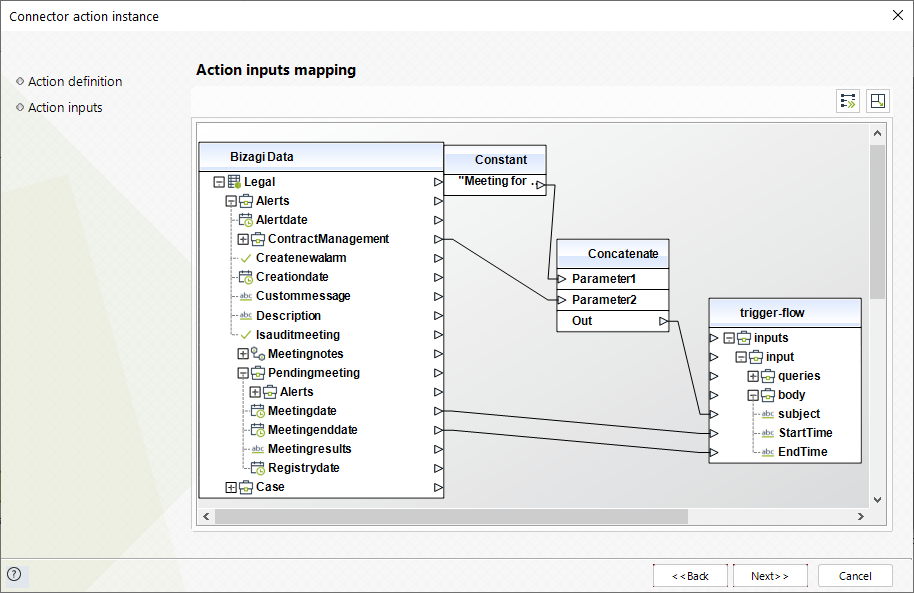
As no response is expected from Power Automate, you can click Next until the configuration of your connector is ready.
-
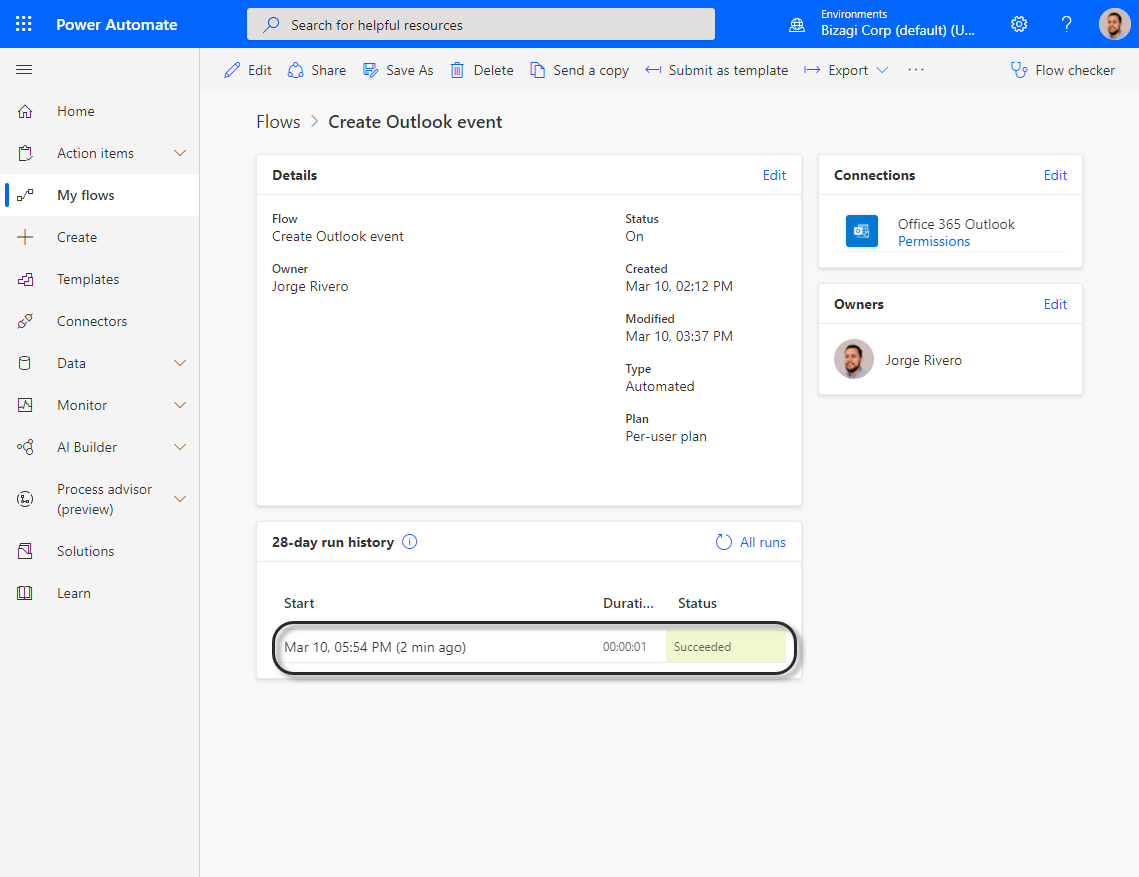
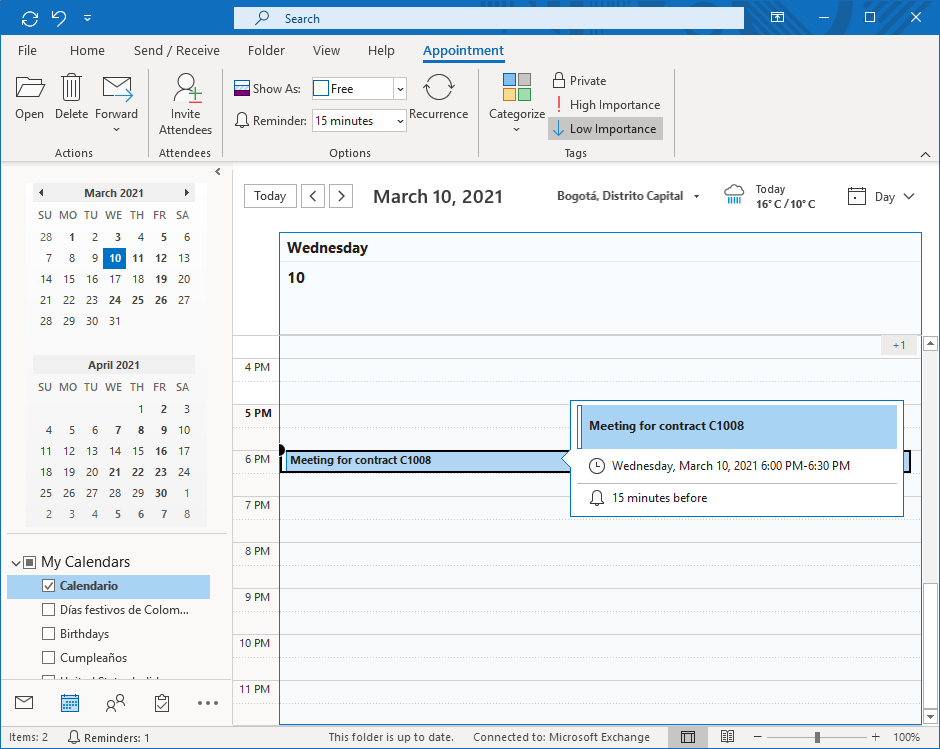
Finally, you can test the Power Automate connector by running your Bizagi process and reviewing that the Power Automate flow has been executed correctly.